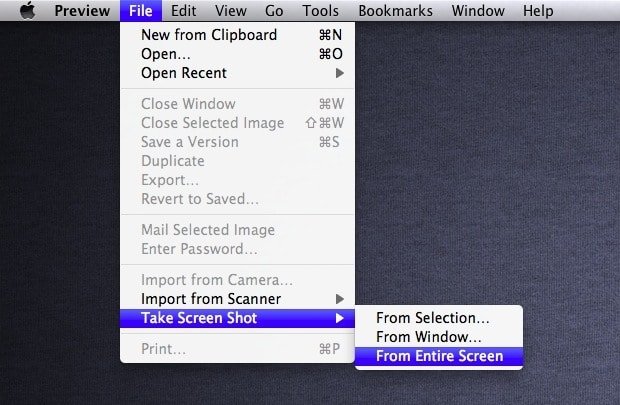
How to Take a Screenshot on a MacBook and Window 7?
It’s pretty easy to take a screenshot on MacBook OS X within a few simple steps. Just need to use the Mac keyboard and following instruction to take a screenshot.
Steps to know how to take a screenshot on MacBook
- To take full screen image – COMMAND + SHIFT + 3
This will save the image whatever shown on the screen. All four corners of the screen will be captured with this short keys. This command will save the shot automatically on your desktop as a PNG file. You can then open it and view it.
- To capture the half or partial image- COMMAND + SHIFT + 4
To take the image of a partial portion of your desktop screen press the COMMAND + SHIFT + 4, that will appear a cross-hair cursor, now select the required area you wish to capture.
Notice- This step will save your screenshot as a PDF file.
Here is embedding video to describe how to take screenshot on the MacBook
- Take a shot of window application not the screen – COMMAND + SHIFT + 4 + SPACEBAR
If you would like to take a screen shot of any specific window application not the entire screen of the laptop just hold COMMAND + SHIFT + 4 + SPACEBAR, now move your cross hair cursor on the desired application and click with the mouse button. The screen shot will be automatically saved as PDF file.
Steps to know how to take a screenshot on Window 7
To take a screenshot on window 7 is much easier than taking screen shots on the MacBook. Just follow the simple step:
- Just hold the fn + prt such key , it will automatically save your screen.
- Then go to paint and press ctrl+v.
- In paint go to file and save your screen shot file as PNG.


